Sep 20, 2026Silicone Guides
From Product Idea to Manufacturable Silicone Sample
See how a custom silicone product moves from idea and CAD through DFM, material review, tooling and first-sample evaluation before mass production.
A product idea is not automatically a manufacturing-ready product.
The biggest difference between a smooth custom project and a project full of rework is often what happens before the mold is cut.
For custom silicone, silicone + plastic and multi-material products, we prefer to move through a clear development path:
Idea → 3D Drawing → DFM Review → Material Review → Tooling Plan → Mold → First Sample → Sample Evaluation
The goal is not to make the design less creative. The goal is to make sure the design can survive the transition from a screen to a real production process.
Start With the Product Requirement, Not the Mold
Before discussing tooling, define what the part actually needs to do. Review:
· application
· target material
· hardness or tactile requirement
· rigid substrate, if any
· assembly relationship
· appearance requirement
· compliance requirement
· expected use environment
A mold cannot solve an unclear product requirement.
Convert the Idea Into a Manufacturing Structure
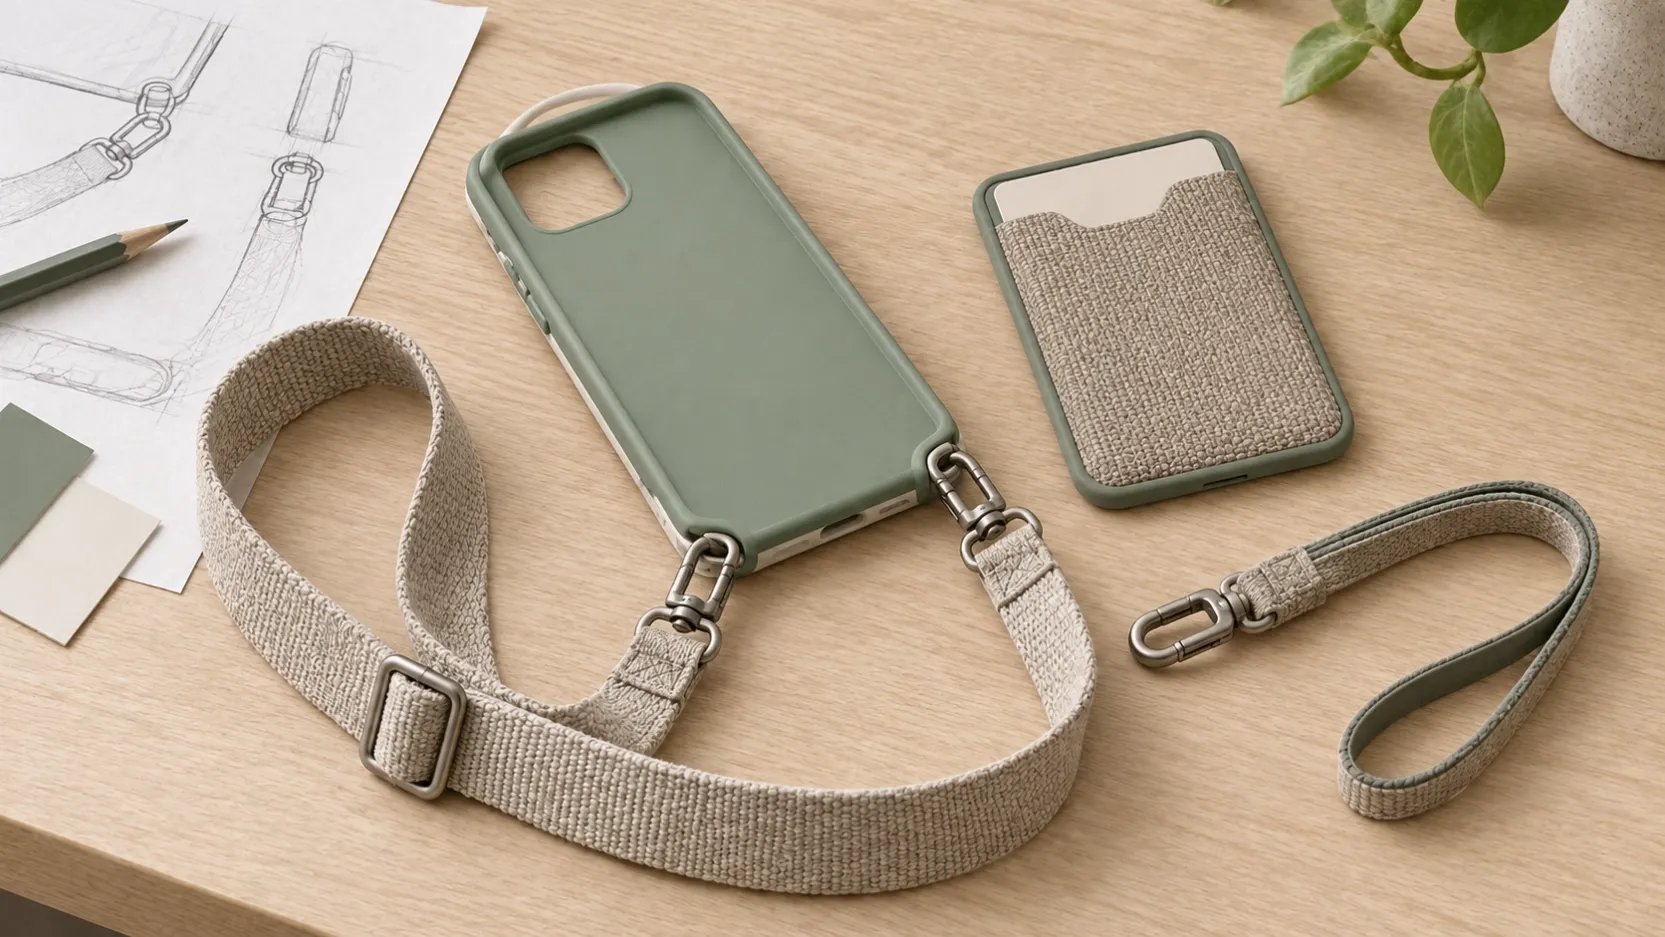
A sketch or reference sample can communicate the concept, but manufacturing needs a controlled 3D structure.
At this stage, the drawing should communicate more than shape. It should also define:
· wall thickness
· critical dimensions
· transitions
· undercuts
· draft
· assembly interfaces
· overmold coverage
Perform DFM Before Tooling
This is where many expensive problems can still be corrected relatively easily.
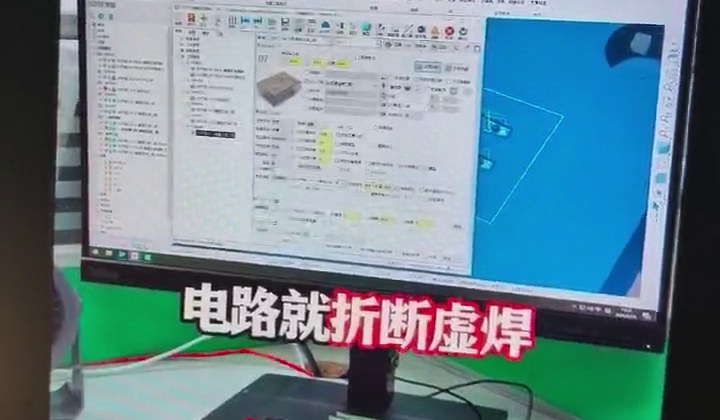
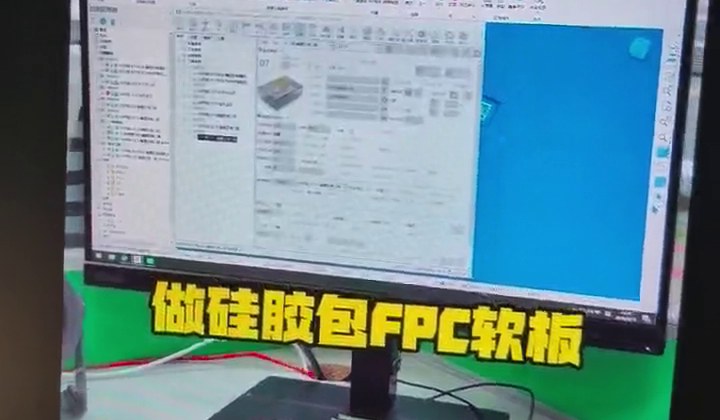
In one of our recent LSR overmolding reviews, the team identified several risks before tooling:
· silicone areas that were too thin
· undercuts that were too deep
· venting paths that needed improvement
· insufficient demolding angle
None of these looked dramatic on the 3D model. But after tooling, each could become a mold-modification or repeated-sampling issue.
Review Material and Assembly Together
Silicone, plastic and metal do not behave independently once they become one product. The review should consider:
· substrate compatibility
· temperature exposure during molding
· bonding or mechanical retention
· tolerance stack-up
· assembly sequence
· potential deformation
A component can be individually within tolerance and still fail during final assembly.
Build the Tooling Around the Product Risk
Once the design is manufacturable, tooling can be planned around the critical areas. Review:
· gate location
· venting
· insert positioning
· parting line
· demolding
· critical cosmetic surfaces
· critical dimensions
Evaluate the First Sample Against a Defined Standard
"Sample looks good" is not enough. Before approval, define what must be checked:
· dimensions
· appearance
· color
· tactile feel
· assembly
· bonding
· functional behavior
The approved sample should become a real production reference.
The Question to Ask Before Tooling
A useful question before tooling is not "Can this mold be made?" It is "Is this product ready to become a mold yet?"
Related Pages & Case Studies
· OEM & ODM Product Development - /product-development
· LSR Injection Molding - /lsr-injection-molding
· Silicone Overmolding - /silicone-overmolding
· Case study: Avoiding Tooling Rework With a Pre-Mold DFM Review - /case-study-lsr-overmolding-dfm-before-tooling
Working on a New Silicone or Multi-Material Product?
Send us your sketch, STEP file, reference sample or application requirement. We can review the structure and key manufacturing risks before tooling.
Send Drawing for Review - /contact-us#project-inquiry